I'm not gutsy enough to call this a tutorial. I'm probably doing 99% of this completely wrong. But, I've found this to be a process that I have a lot of fun with, and that, to me, is the kind of thing I ought to share! And it's worked out decently enough for me so far that I feel somewhat comfortable giving instruction-ish things.
I have written about this before, a couple of weeks ago. But I've done a little more practice, and have gotten a teensy bit less crappy at it. Just a tad, though. Don't be expecting miracles, here. So, to re-cap what I explained in that last post, linocut is a form of printmaking where you carve an image into a piece of rubber or linoleum, spread ink across the image, and then essentially stamp the image onto a piece of paper or fabric or wood or who knows what else. There are some really beautiful applications of this technique, and I'm far from reaching that point, but it's also really simple.
I could go on about it. As I explained in that last blog post, I used to not be a fan at all of printmaking, and blah blah. But now I'm slightly addicted to it. I still love to paint and draw and doodle and everything else, but I find this process to be a relaxing breath of fresh air, where I can just have fun and not stress too much over the end product. Maybe it's because I, in theory, should have reached a certain level of competency with painting and drawing, that it can be stressful sometimes, because if the image isn't up to par, it's an embarrassment and a cause for all of the doubt. But I've only been playing around with this for a few weeks, so it's still fun. If I mess up, it doesn't seem as though it's because I'm the worst, it's because I'm still learning. Which is just the bomb.
So anyway, if you would like to give this a shot (which you should absolutely want to do, because it's super fun), there are a few tools which will make your job much easier. I've seen people use this process with potatoes and a steak knife, though, so don't let a supply list intimidate you! For this, I will list the item, and then put a link to the product on the Blick Art Supply Store's website, so that you can see what I'm talking about. (I don't get anything from these links, if you were wondering, I'm just a person who finds that pictures help, and want there to be as few obstacles as possible between you and making fabulous stuff!)

A block of linoleum or rubber. I've been using blocks that are 4" x 6" and 1/4" thick.

Some water-soluble printing ink will be helpful. There are mythical fairy tales about watered-down acrylic paint functioning equally well, but since I was trying this for a real project rather than just for my own entertainment, I went for the real stuff.

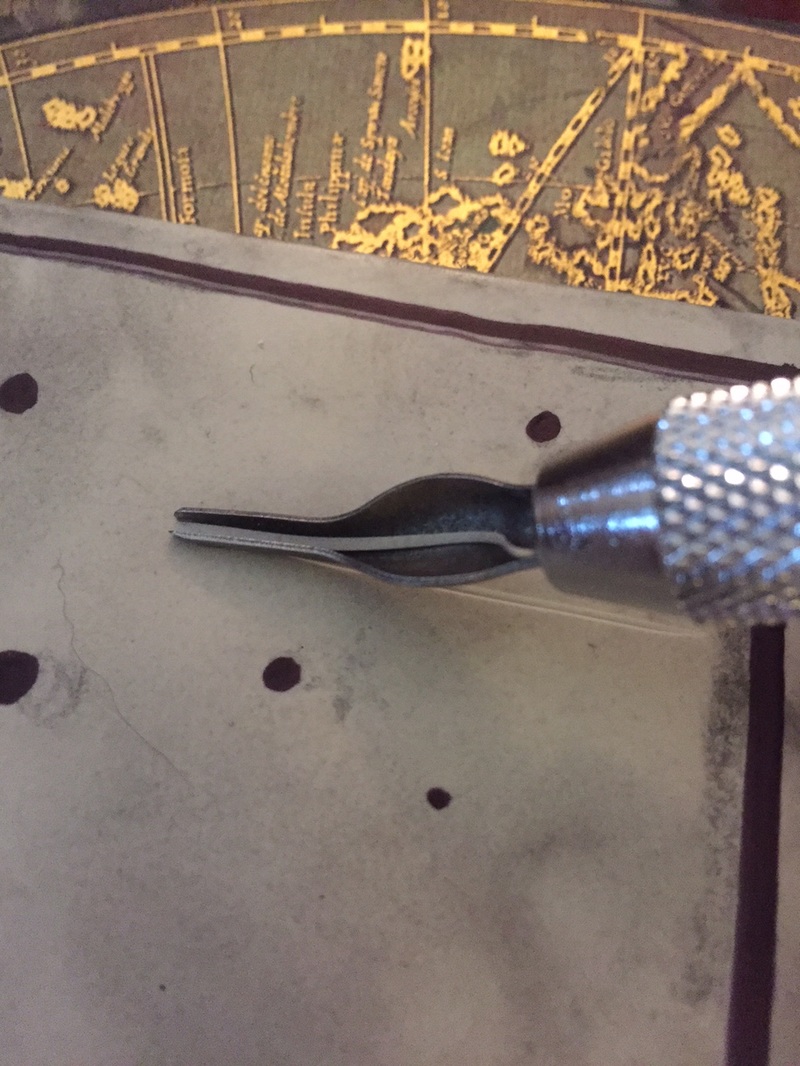
Find a little carving set like this one, with a few different attachments to carve out different shapes. This is the one I bought (three cheers for buying store brand everything!!!), and though it is hardly the highest-quality tool I could find, it does the job well.

As I talked about in my last post on this, do yourself a favor and buy yourself a brayer (which is a roller to help you spread out the ink more evenly). It will spread the ink across the plate much better than a paintbrush will, resulting in a much clearer image. Just trust me.
You'll also need some nice paper to stamp the image onto, a smooth and flat surface that can be used for spreading ink (think a piece of glass from an old frame, or the smooth, inked side of a piece of cardboard from a cereal box), as well as a place where you can make a small bit of a mess without alarming your roommates/family/cat.
Now let's get cookin! (Not literally, this isn't one of those blogs.)
Step One:
Pick an image or design that you want to use. You can find a picture from a magazine or newspaper, use a photo you've taken yourself, a drawing, or a cool design. I went with one of my own doodles of a bear in a sweater in the snow:
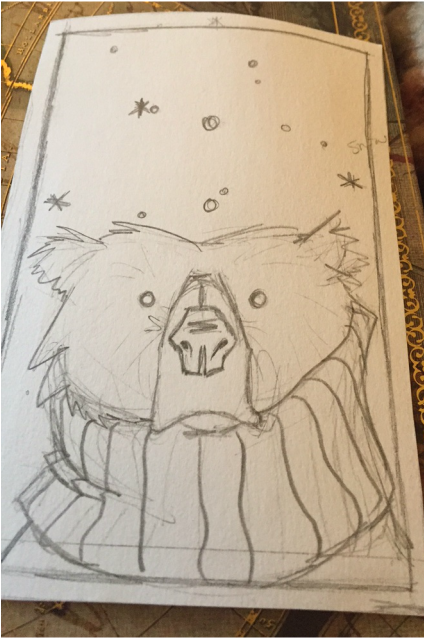
Is it out of season? Yes. But I'm getting a head start on some Christmas cards, okay?
Step Two:
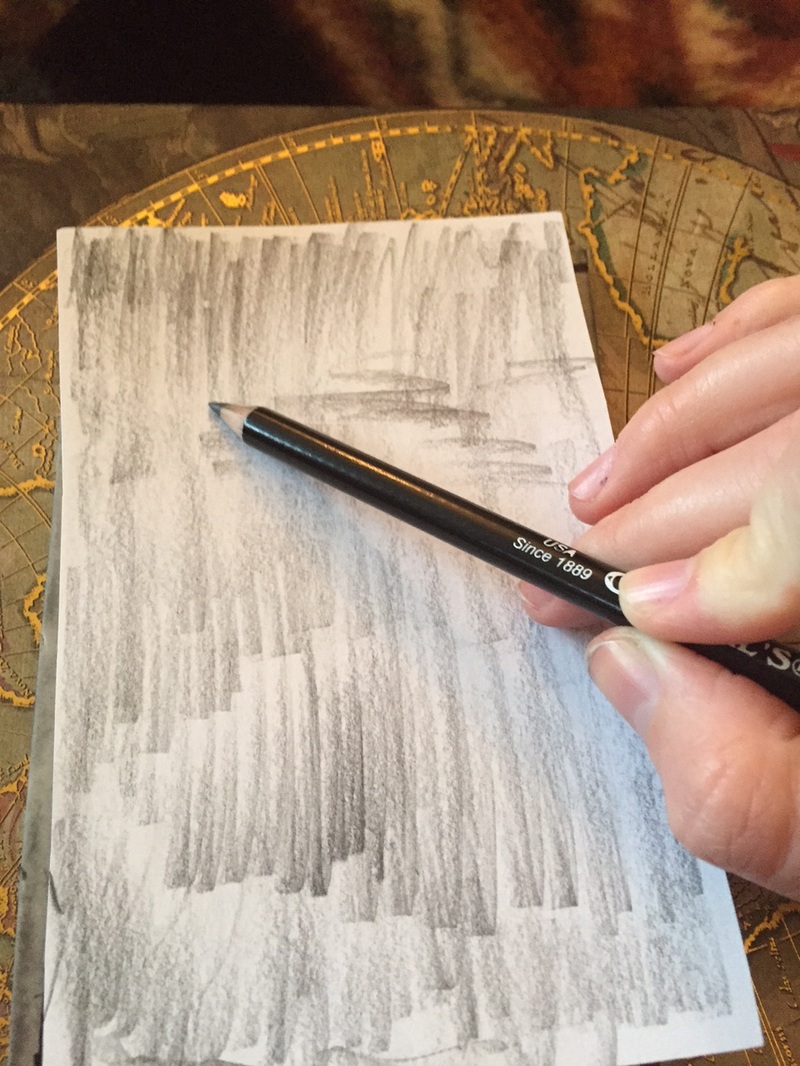
Transfer your image from the paper to the block. There are a couple of ways to do this. If don't mind the image in your final print being the mirror image of the picture or drawing that you have now, then cover the back of the drawing with some dark graphite or charcoal, place the drawing squarely on top of where you'd like it to be on the block, and then trace over the drawing. There should be a faint image of the drawing on the block.
OR
If don't want the image to be mirrored (especially if there's text involved), then draw over the outlines of your image with a dark pencil or piece of charcoal. Then flip the drawing over so that it's face down on top of the rubber block. Firmly scribble across the back with the side of a pencil, so that the image gets transferred onto the block. It will be the reverse on the block, but when you print it, it will be oriented correctly. This is the technique I used.
Whoever said that a person's fingernails are a clue into their level of hygiene has never meet an artist. Seriously.
Step Three:
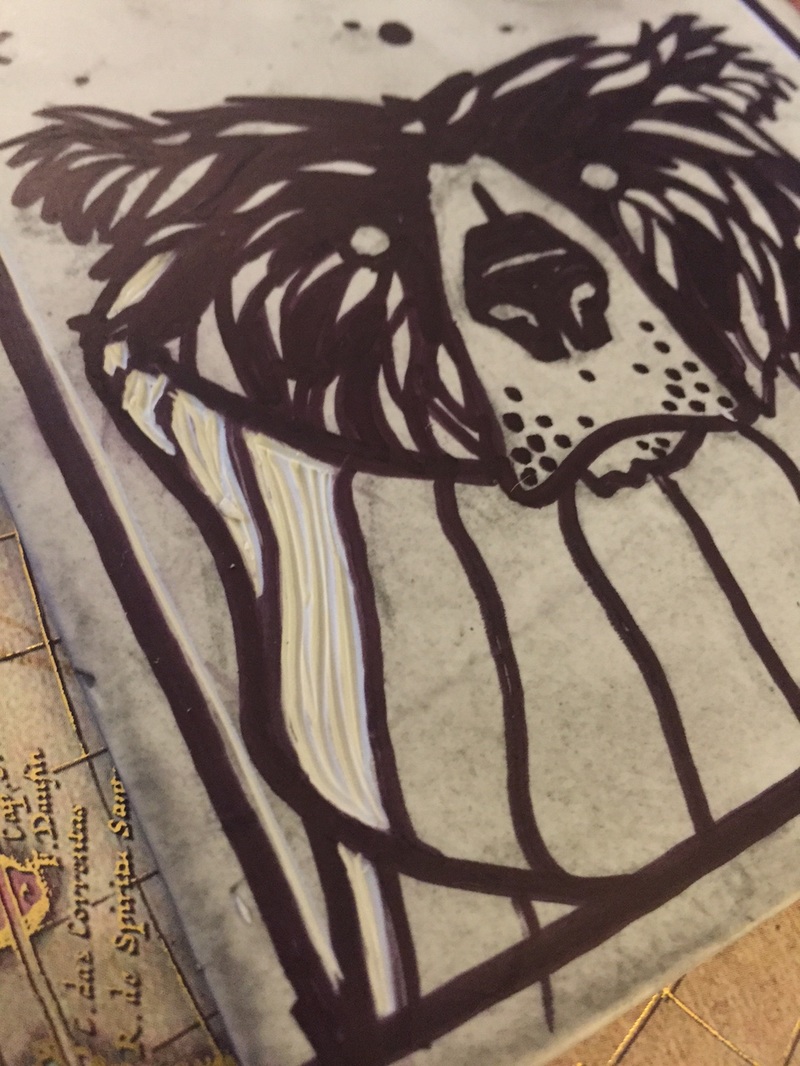
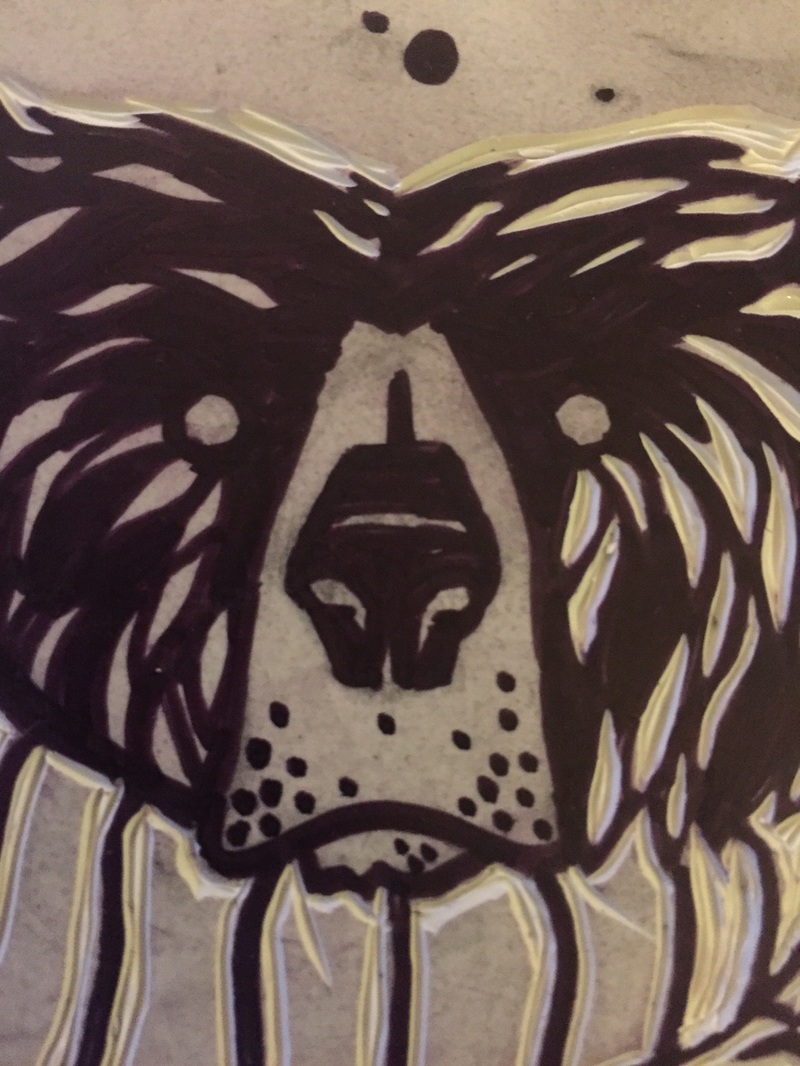
Once you have the image situated how you'd like to to be on the block, fill in all of the areas that you DO want to transfer ink with a marker. I didn't do this on the first couple of blocks I tried, and I have to say, it makes it SO much easier to carve this way.
Once you have the image situated how you'd like to to be on the block, fill in all of the areas that you DO want to transfer ink with a marker. I didn't do this on the first couple of blocks I tried, and I have to say, it makes it SO much easier to carve this way.
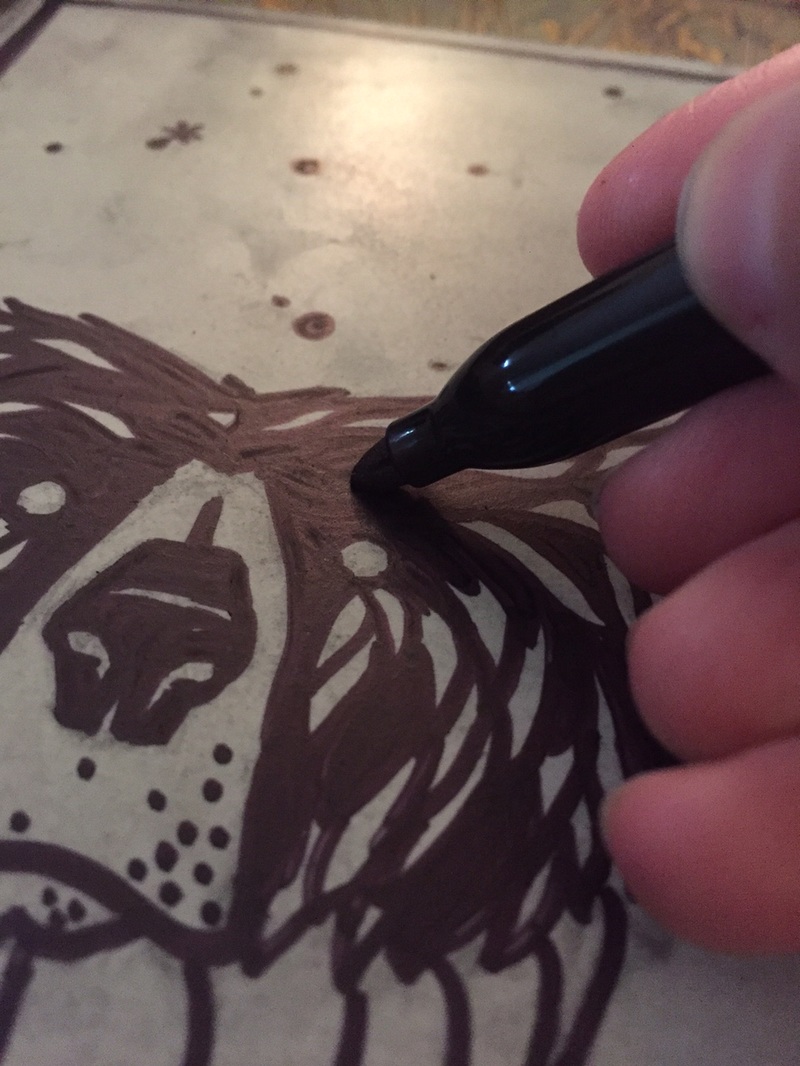
Those little spots on the dude's snout are hilariously ambitious. Spoiler alert: they don't pan out well.
Now it's time to break out the little carving tool.
This guy.
Step Four:
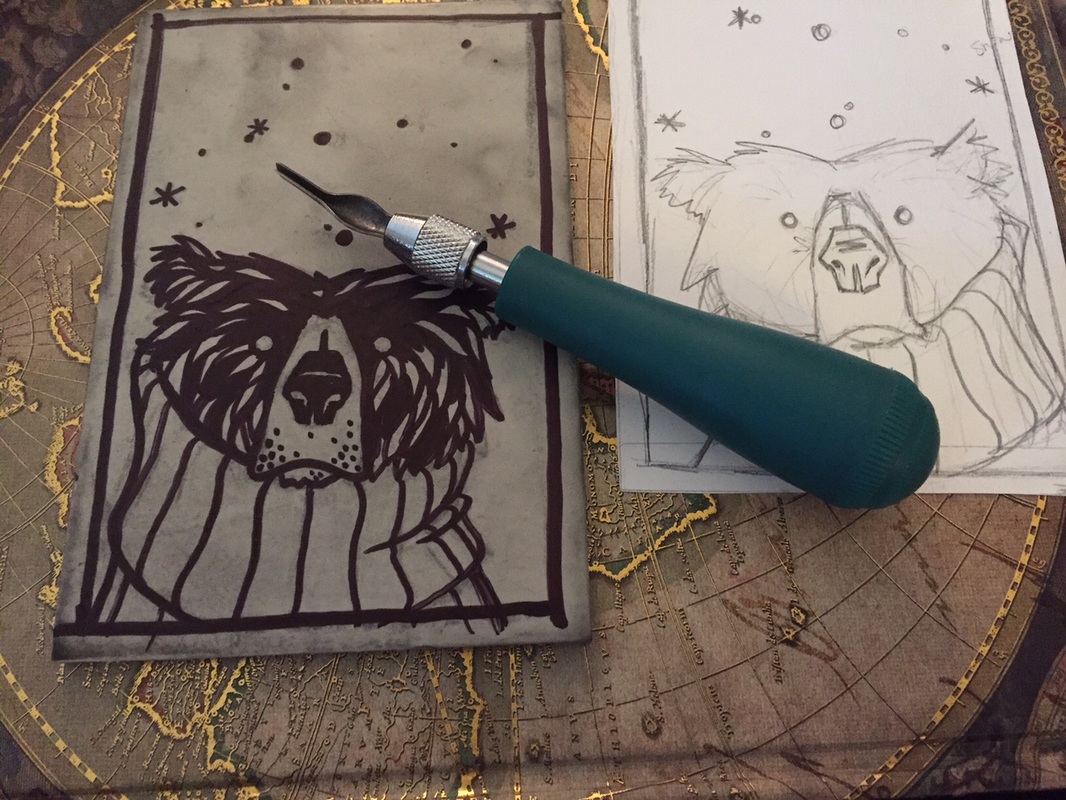
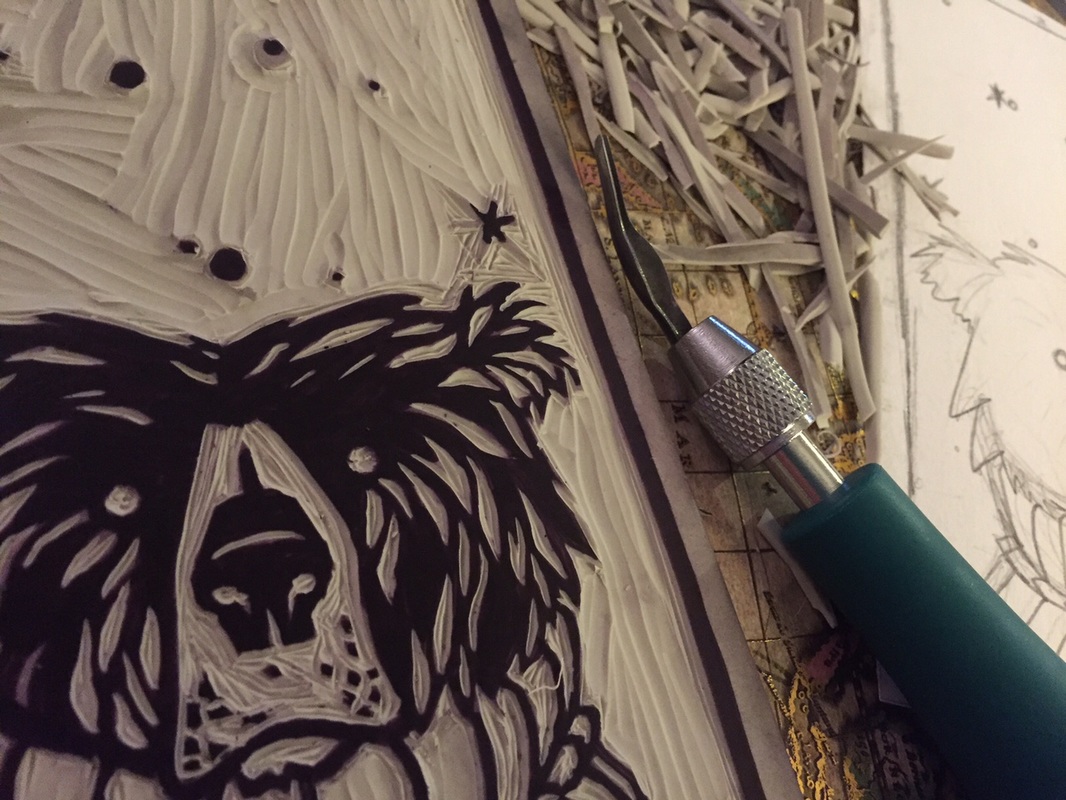
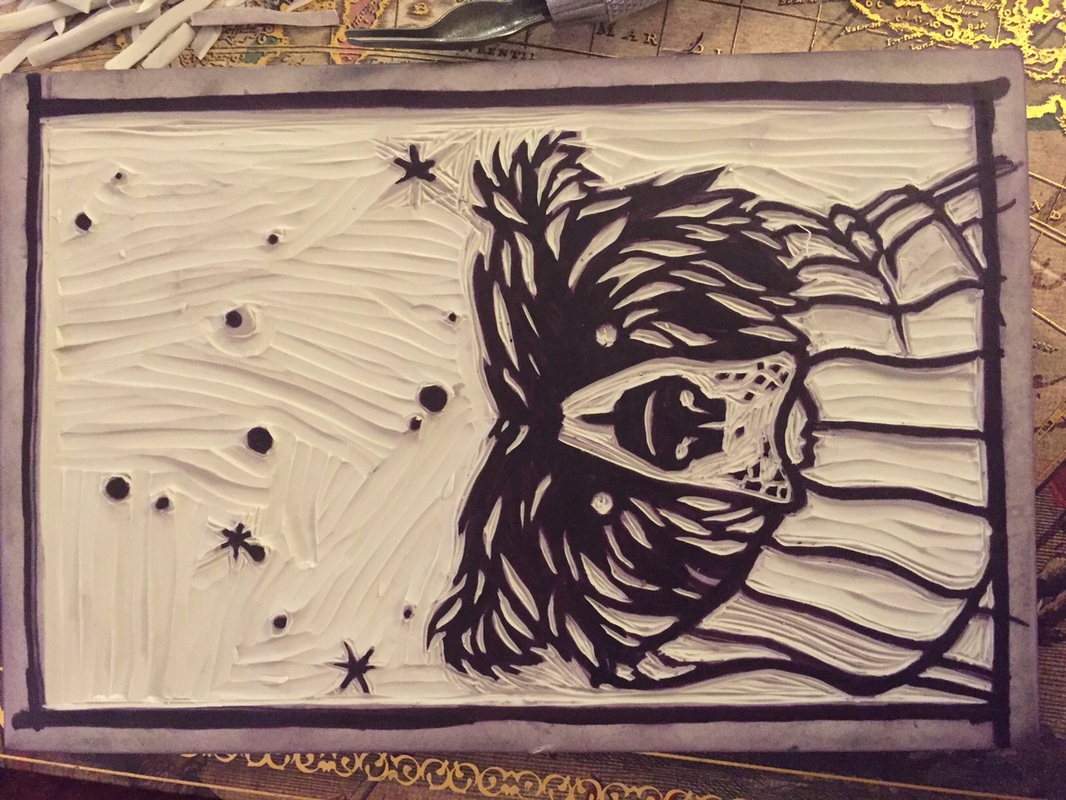
With your carving tool, carefully carve out all of the spaces which will be negative space in your final design. I find it works best to outline all of the shapes with the smallest tool, and then remove the larger spaces with a larger one.
Negative space is the area in a 2-dimensional image that is not taken up by a part of the focus of the image. It's what you didn't fill in with your marker in the last step. You can see what is negative space in my little bear drawing here by looking at what I'm carving out.
This is one of those oddball things that I find to be super relaxing. You're simply carving out the space, but now is the moment to take your time. There's no "undo" button or eraser on this one, so make sure that every bit of rubber (or linoleum, or whatever it is) that you remove is exactly what you wanted to remove. You probably will make mistakes, though, so don't let it discourage you when it happens! It's not the end of the world, it's just a challenge to make you think about what you can slightly change about the shape to allow this new little nick to fit in.
It's also necessary to take your time because, remember, you're playing with sharp objects. Pleeease don't ever push the blade toward your hand. It's not worth losing a chunk of your finger over. And the more you're rushed, the more likely that little cleaver is gonna slip out of its intended line and happily draw blood (whilst joyously cheering, "Muahahahahahaaaaa!!!" a la kitten-Yzma from the Emporer's New Groove). Bewaaare the mini cutleryyyy...
It's also necessary to take your time because, remember, you're playing with sharp objects. Pleeease don't ever push the blade toward your hand. It's not worth losing a chunk of your finger over. And the more you're rushed, the more likely that little cleaver is gonna slip out of its intended line and happily draw blood (whilst joyously cheering, "Muahahahahahaaaaa!!!" a la kitten-Yzma from the Emporer's New Groove). Bewaaare the mini cutleryyyy...
See those terrible lines in the upper corner of the bear's turtleneck? They're atrocious. But I'll make it work.
It gets a tad messy at this point.
Personally, I think the block itself almost ends up looking prettier than the prints it makes!
Step Five:
Now the mess gets a tad more permanent. (This is the part where you take a sigh of relief for the fact that you're (hopefully) using washable inks.)
Put a little glob of ink on your piece of glass or printed-upon cardboard, and spread the brayer around in it to ensure that the roller in the brayer is completely and evenly covered with ink.
Step Six:
Now quickly move over to your block, and roll the ink across it as evenly as you can. A couple of coats won't hurt, but be sure that you don't let the ink start to dry.
Now quickly move over to your block, and roll the ink across it as evenly as you can. A couple of coats won't hurt, but be sure that you don't let the ink start to dry.

Step Seven:
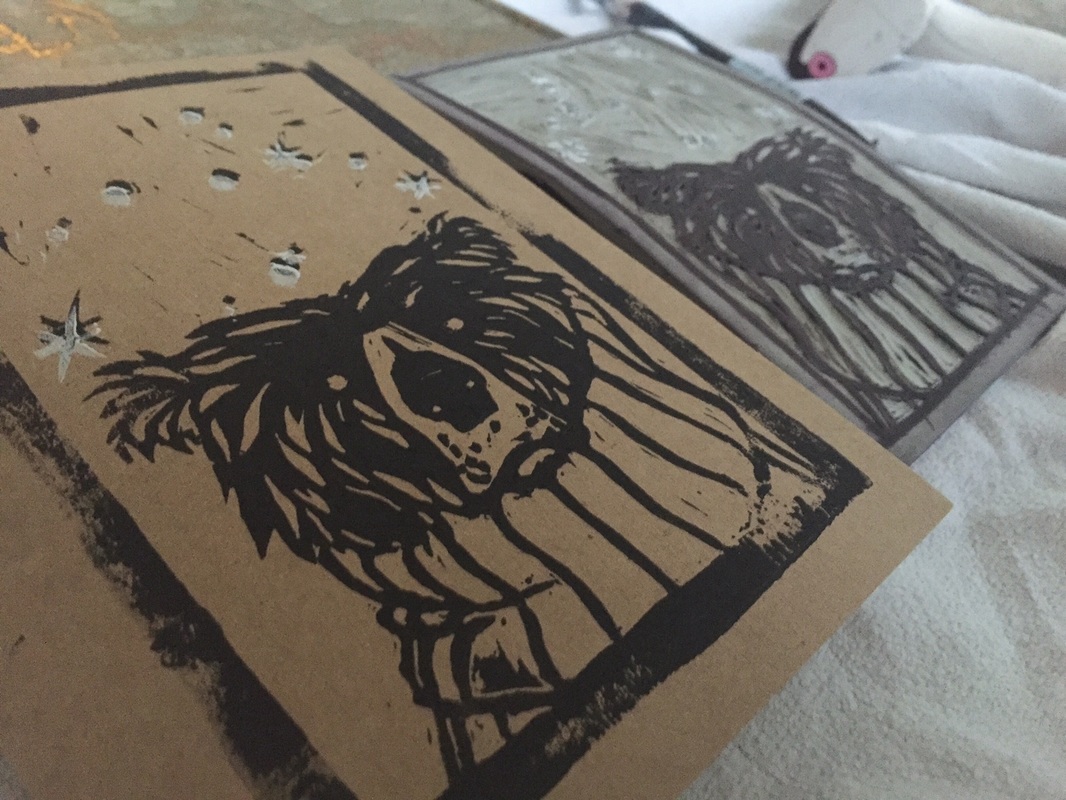
Moving quickly so that the ink doesn't dry just yet (are you noticing the theme here?), place your block image-up on a flat surface, and carefully press your paper down on top of it, doing your best to ensure that the image will end up where you want it on the paper, whether that be centered, sticking off the side, upside-down, etc. Without letting the paper slide around, rub your fingers (or a second, clean brayer if you have one - I don't, I'm cheap and lame) around on the back of the paper, to firmly press the image onto it.
Moving quickly so that the ink doesn't dry just yet (are you noticing the theme here?), place your block image-up on a flat surface, and carefully press your paper down on top of it, doing your best to ensure that the image will end up where you want it on the paper, whether that be centered, sticking off the side, upside-down, etc. Without letting the paper slide around, rub your fingers (or a second, clean brayer if you have one - I don't, I'm cheap and lame) around on the back of the paper, to firmly press the image onto it.
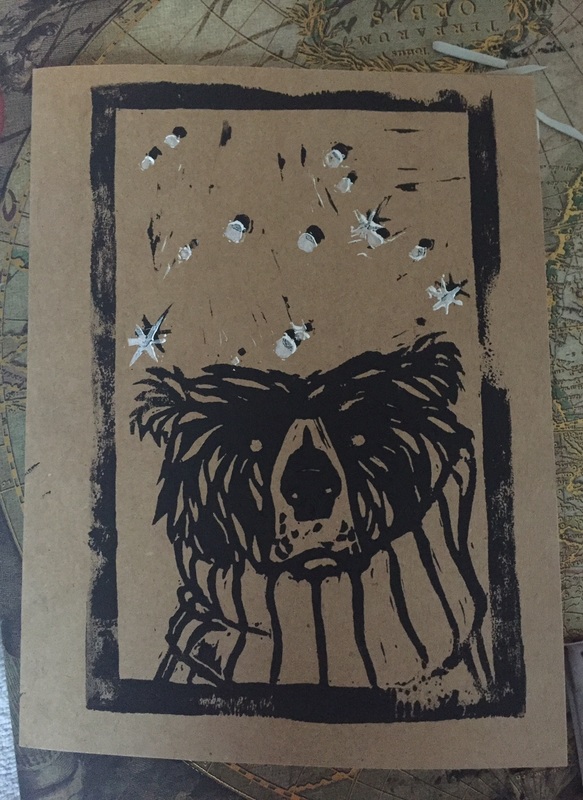
Finally, carefully peel the paper away from the block. Allow it to dry, and then ta daaaaaa!!! you have your own print!
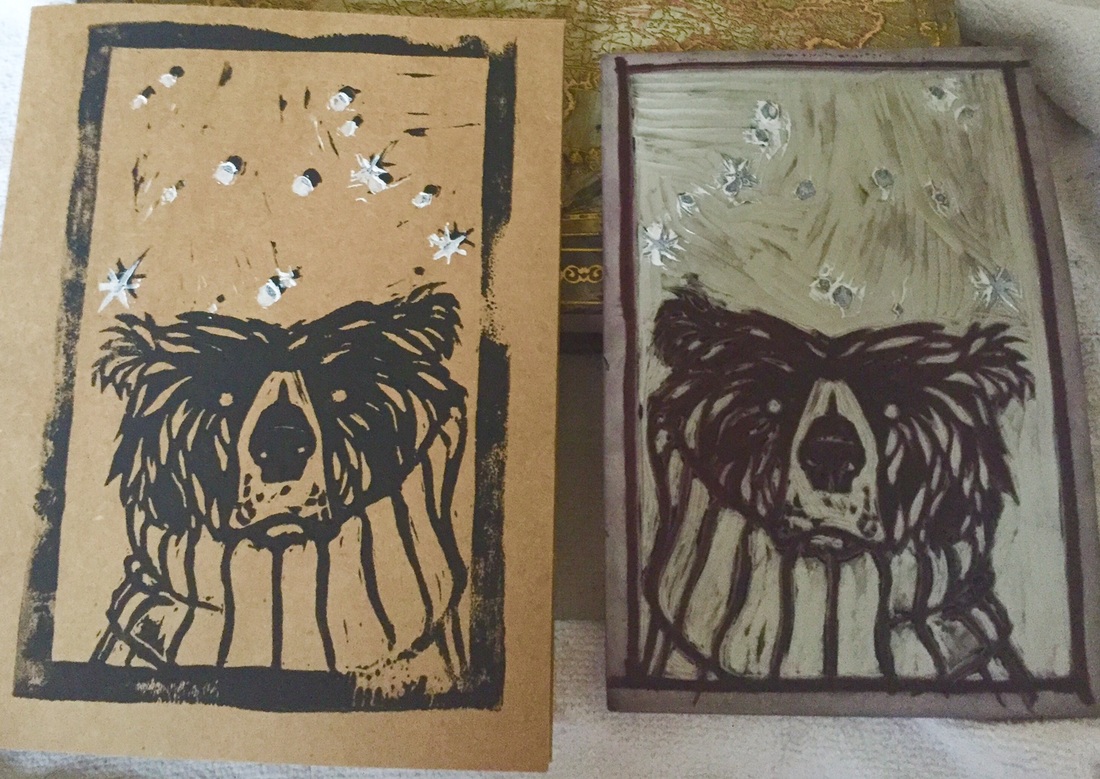
When you're finished, make sure to clean off your block and your brayer so that you can reuse them both.
So this print isn't perfect. What I should have done is make a few test prints on some scrap paper so that I can get a good feel for what worked and what didn't. I only did one, and there are definitely some things I should have fixed before I kept going. I also think I should have made the little snowflakes a separate stamp so that I can add those on separately and keep them a tad cleaner. But I have plenty of time to fiddle around with that.
Also, I need to get better at adding a more complete layer of ink. I might try watering it down a tad, but I'm surprised by some of the spots that didn't lay down enough ink. Moral of the story: there's always plenty to learn, and I'm having fun. MUAHAHAHAHA.
Now give it a shot! You can do it! It's fun! And if this isn't your cup of tea, try something else that you didn't think you'd be a huge fan of that's more in your wheelhouse. Like hamburgers? Try a bison burger! Enjoy running? Try trail running! Love to read fantasy novels? Try reading a biography! You never know what's out there that you may miss out on entirely if you limit yourself.
If you do try this out, send photos! I'd love to see what you make!
And if you tried this with a potato as I mentioned above, please-oh-please let me know how that goes.
Thanks!
Sarah
 RSS Feed
